-40%
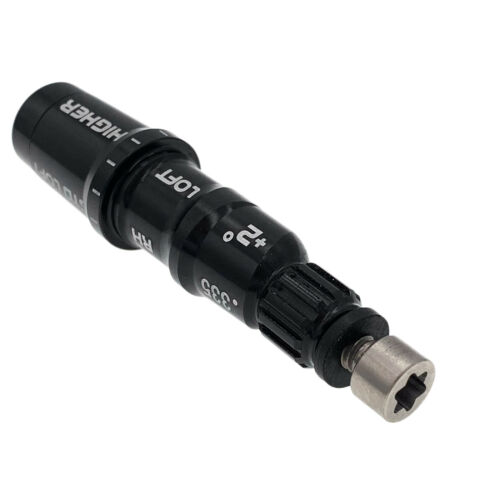
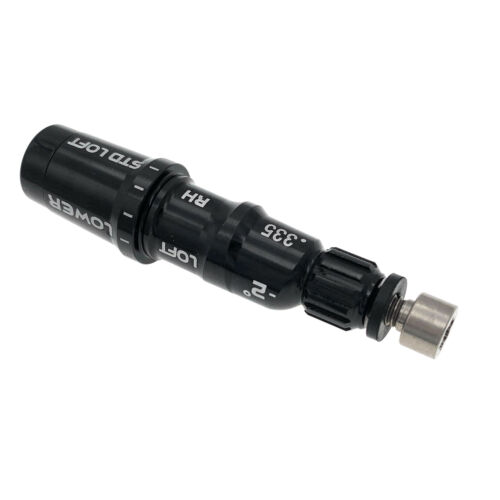
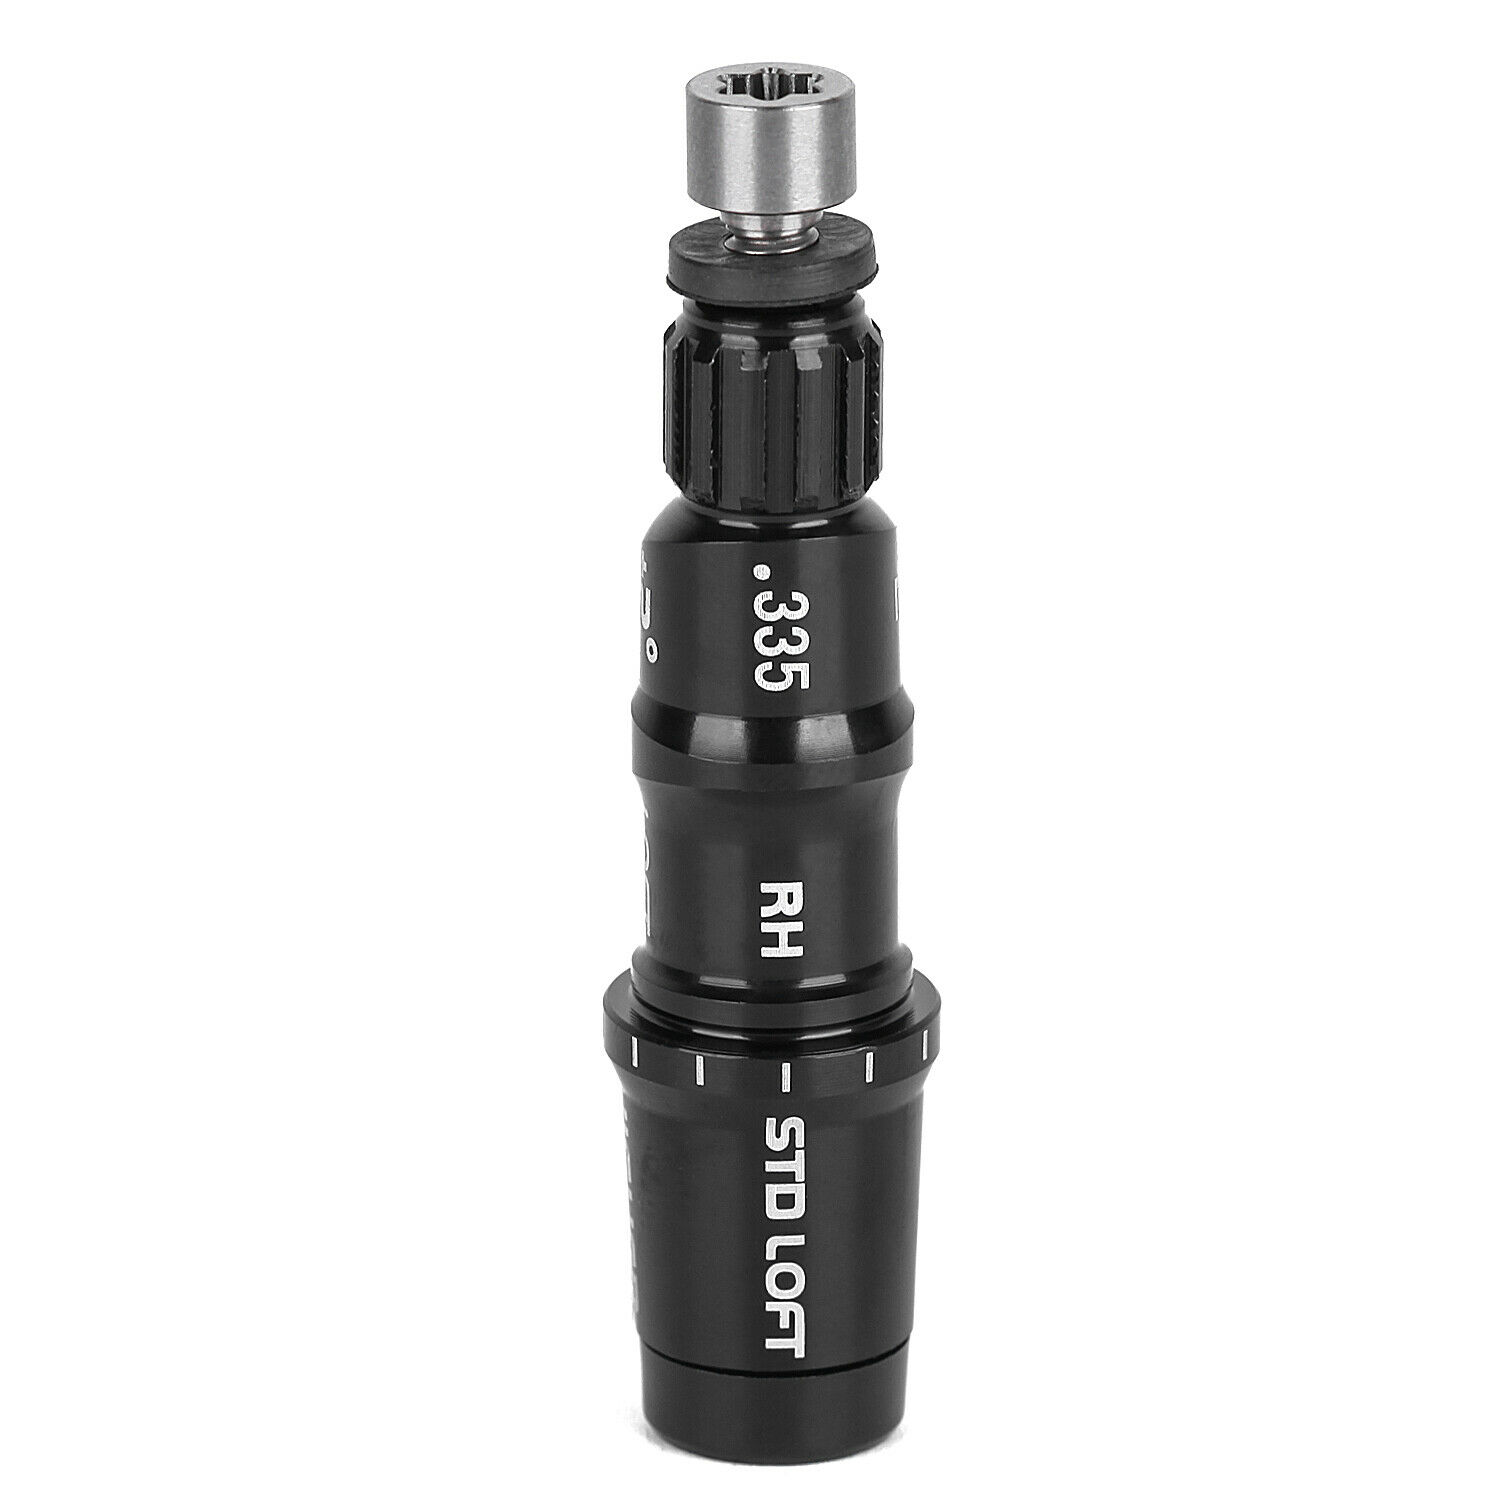
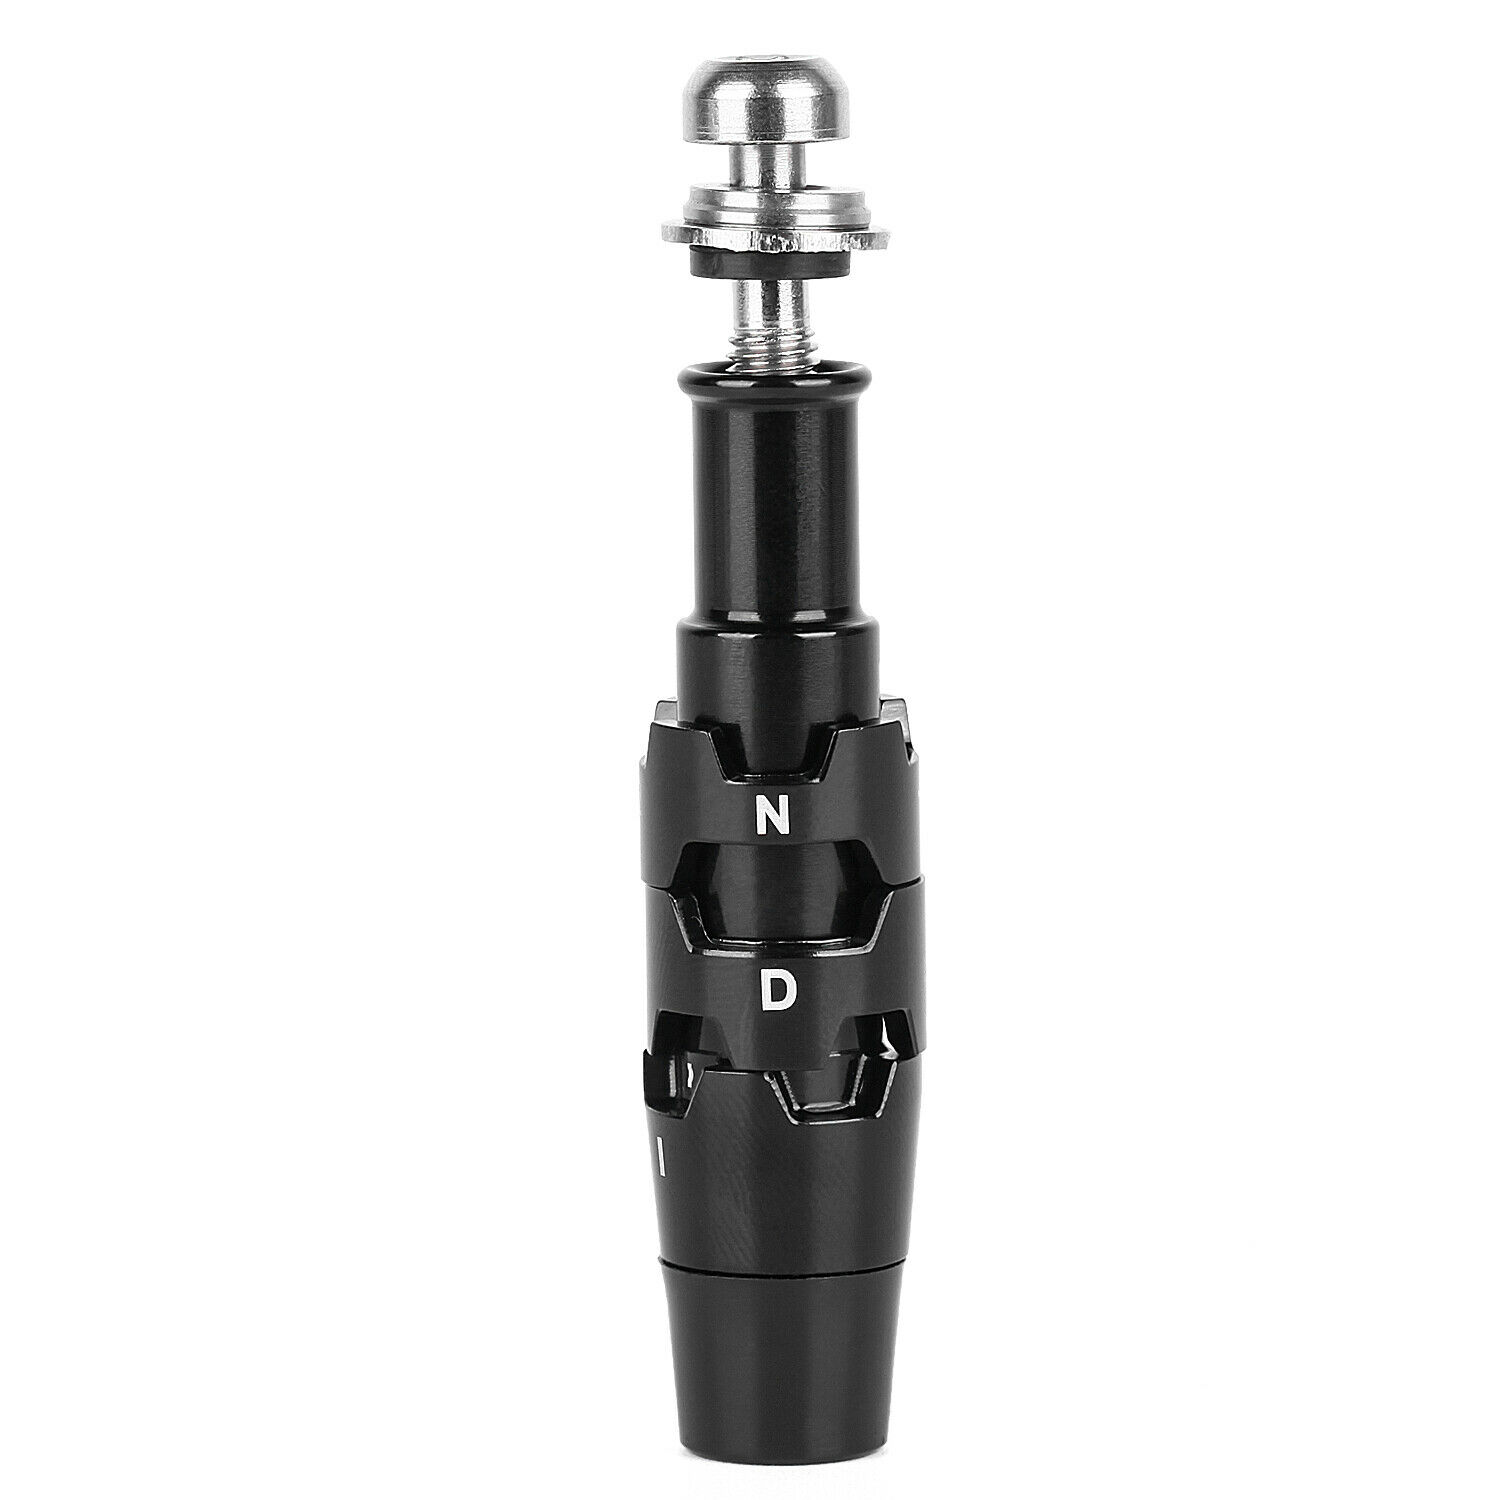
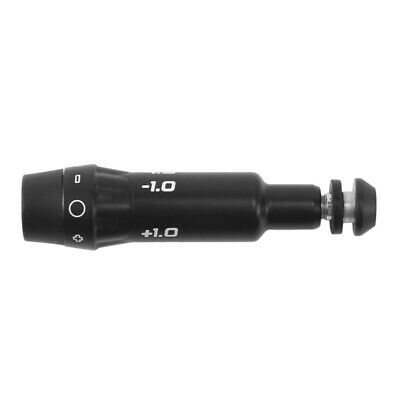
Taylormade Golf Shaft Adapter Kit w/DIY Install Info - Adapter, Epoxy, Sandpaper
$ 11.06
- Description
- Size Guide
Description
Do it Yourself Golf Shaft Adapter Installation Kit - watch the video!Kit comes with: Adapter (and ferrule) + Epoxy + Sandpaper
This is a very easy process that any golfer can do from home.
1. Take your golf shaft and a measurement about 1" from the tip. Very lightly sand the tip of the golf shaft no more than 1" up from the tip. If you sand above that 1" line you may have visible sand marks on your shaft. You want to sand just enough to take off
the very top layer of paint. Once you see graphite, stop. You do not want to sand any longer.
2. Squeeze out an even amount of epoxy. Mix for one minute. (you will have enough epoxy to actually do up to 3 clubs if needed)
3. Apply the mixed epoxy inside the adapter. Do not fill up the adapter with epoxy, rather just make sure the inside walls of the
adapter are covered.
4. Apply a thin layer of epoxy to the tip of the shaft, next put on the ferrule, then the adapter. Make sure the adapter is all
the way installed onto the shaft and your ferrule is flush to your adapter.
5. Clean up the excess epoxy on the outside of the adapter, shaft and ferrule. You can use household cleaners like 409 or Fantastic. Any type of cleaning solution will work. DO NOT USE ACETONE. Acetone will remove markings on the adapter.
6. Adjust your settings on your adapter. Install the shaft so the logo is up or down. Most adapters have a neutral line or marking or a letter/number combination that lines up with a marking on the head. This is on the underside of the hosel (the hole you put the shaft in). Once you like those up you want to make sure the shaft logo is also in line with that mark on the head if you do not want the logo showing once your club is ready to go.
7. Once you have it set, carefully set the shaft in a corner so the shaft is upright as much as possible.
8. Let the shaft sit for 24 hours. Your done!
NOTE: WE ARE A DISTRIBUTOR PROVIDING INSTRUCTIONS BASED OFF OF OUR OWN METHODS.
WE ARE IN NO WAY RESPONSIBLE FOR AND ISSUES YOU MAY HAVE.
PLEASE READ THE WARNING LABELS ON THE EPOXY BEFORE USING. THANK YOU
TAYLORMADE ADAPTERS (Right handed only):
-2 to +2
-degrees loft and lie settings
2024 Qi 10
2023 Stealth 2 (driver and fairway)
2023 Stealth 2 Plus
2023 Stealth 2 HD
2023 Stealth 2 HD Women’s
2022 Stealth (driver and fairway)
2022 Stealth Plus
2022 Stealth HD (High Draw)
2021 SIM2
2021 SIM2 MAX
2021 SIM2 MAX-D
2021 300 Mini
2020 SIM (driver and fairway)
2020 SIM MAX
2020 SIM MAX-D
2019 M5 (driver and fairway)
2019 M5 Tour
2019 M6
2019 M6-D
2019 Original One Mini
2018 M3 (driver and fairway)
2018 M4
2018 M4-D


